Better Late than Never!!
Hey Y’all (whenever I say this I hear Joanna Gaines voice in my head “Y’all ready to see your fixer upper”). I’m way behind on my blog posts and for that I apologize. I have been slaving away at workshops and custom orders like nobody’s beeswax.
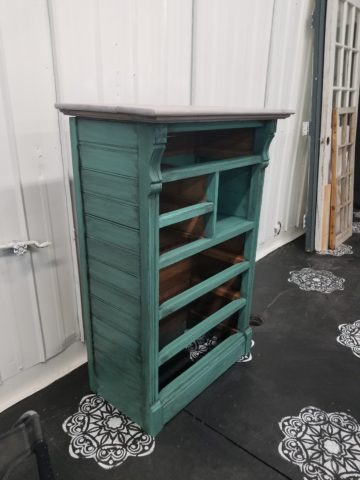
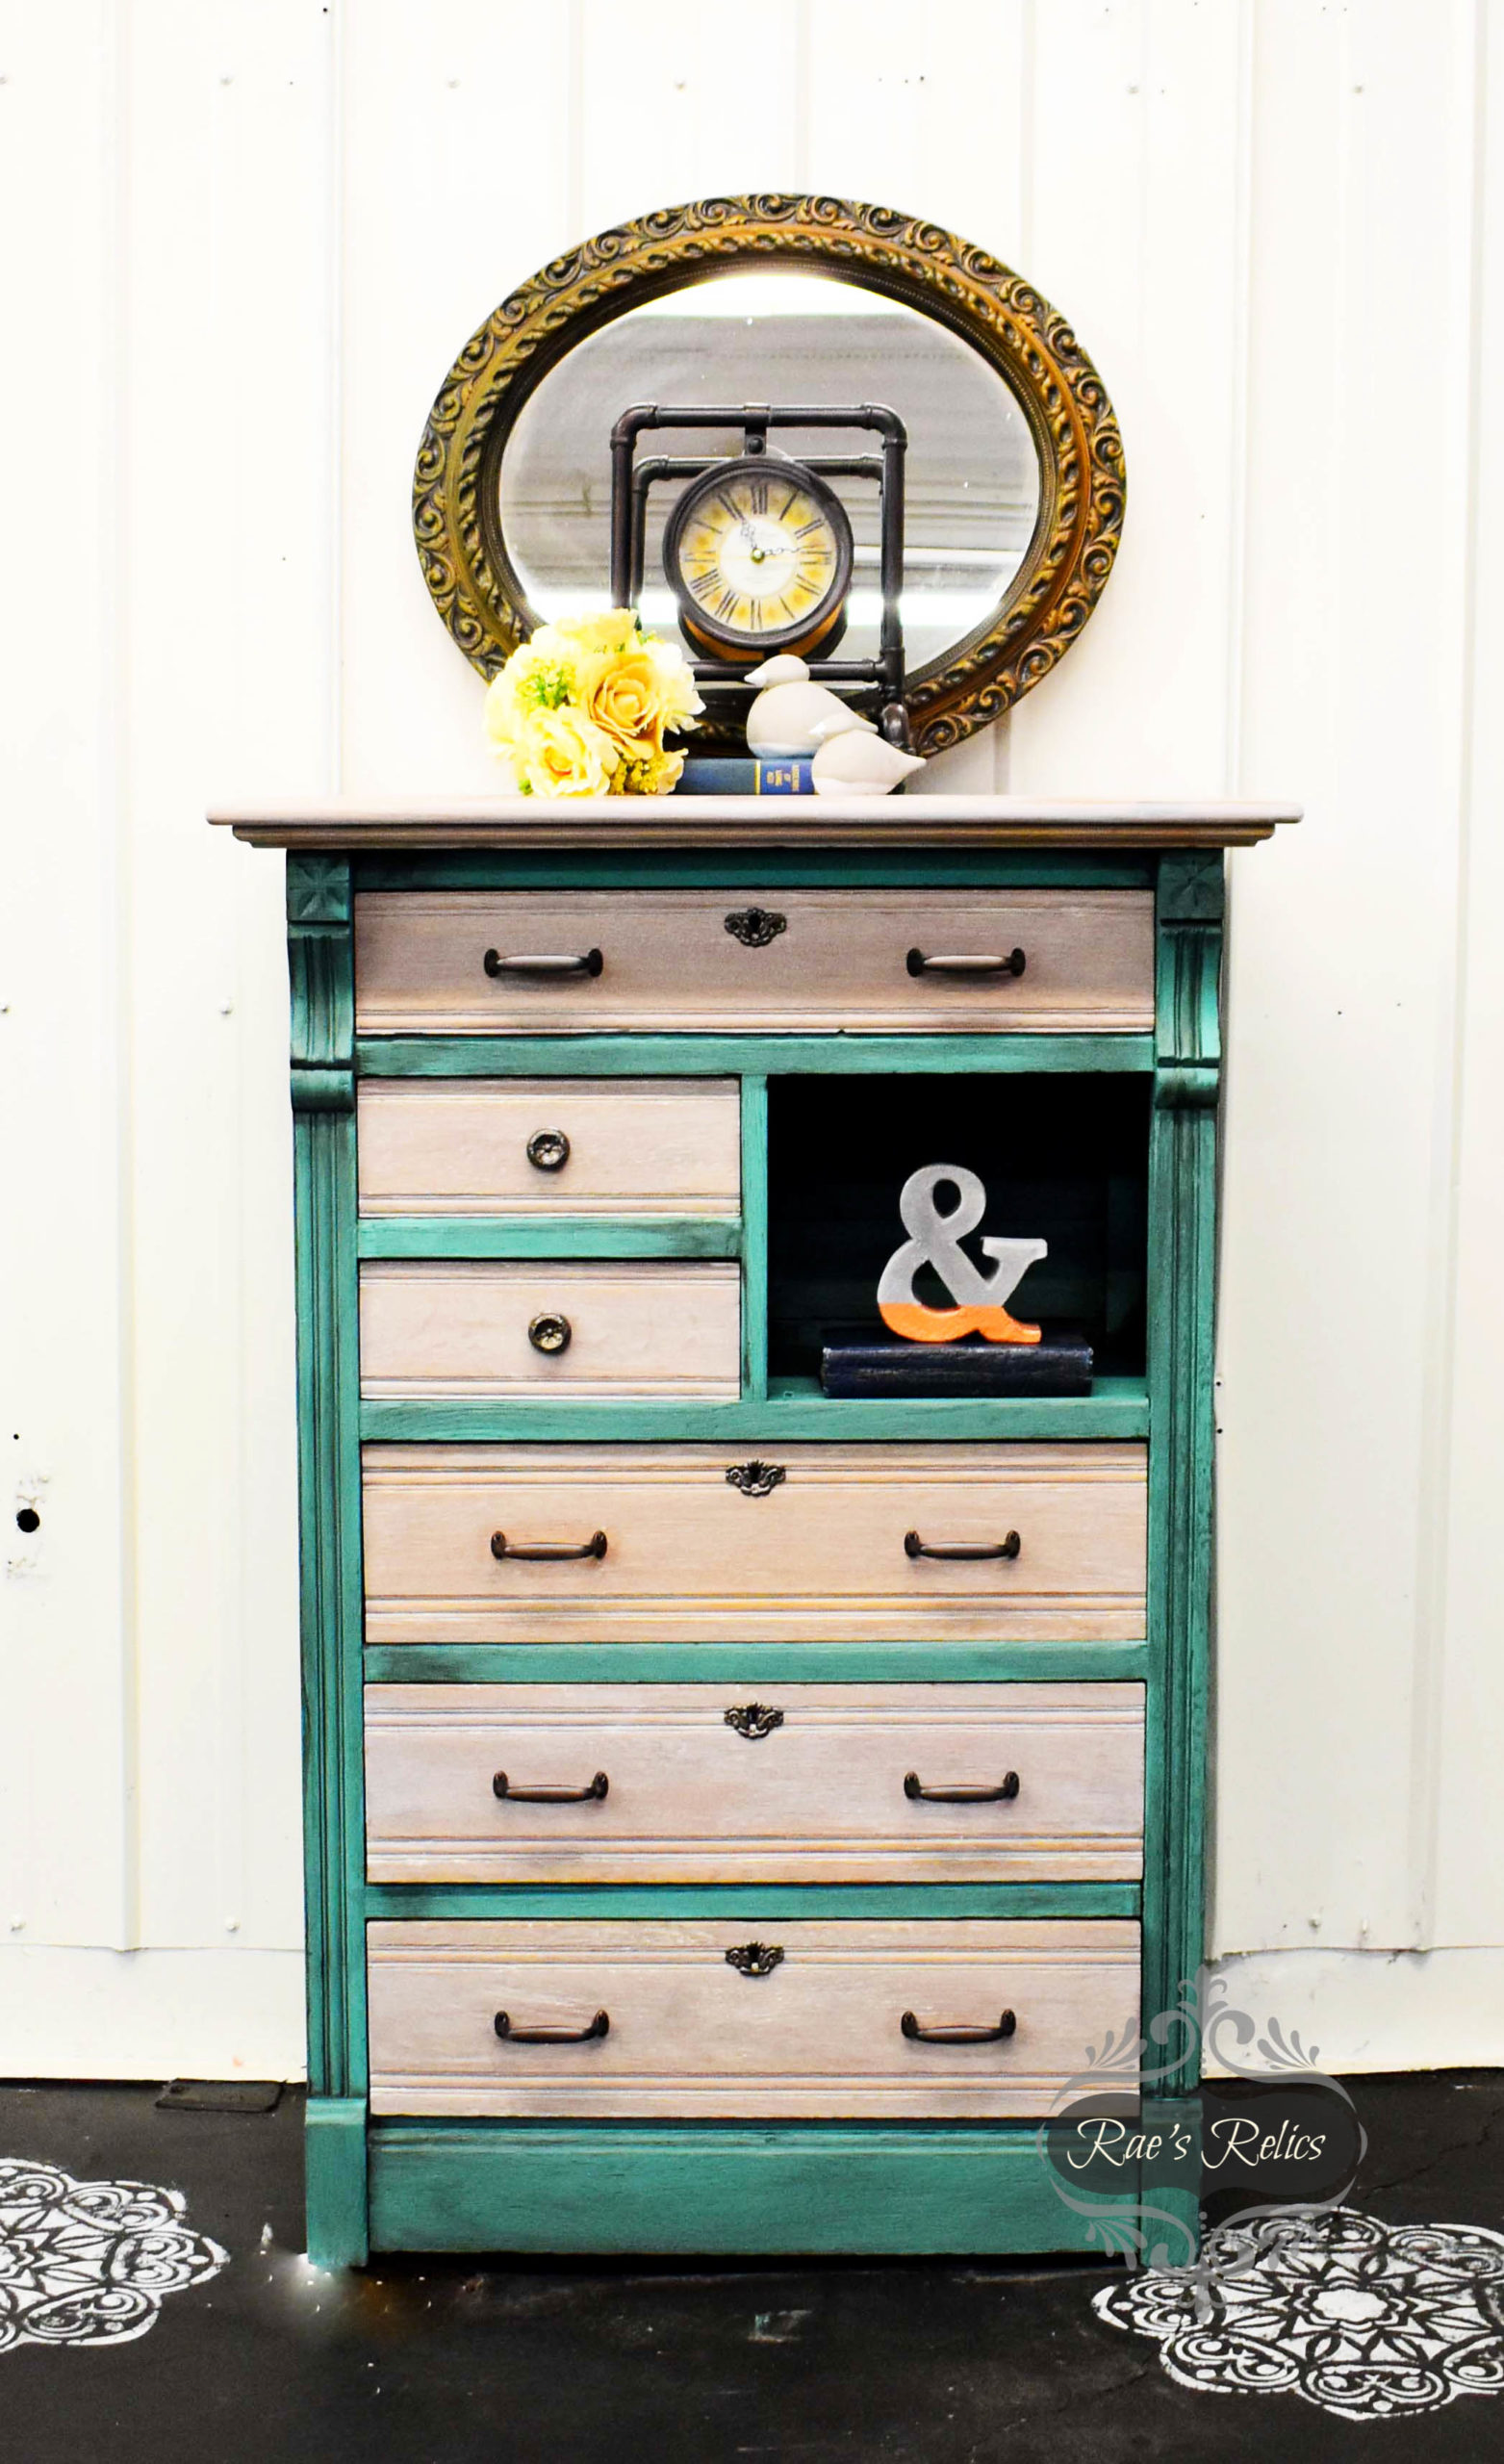
For my next project using Plaster Paint I decided to rejuvenate a very old dresser that I picked up at our local Salvation Army. He is an oldy but a goody that I couldn’t pass up.
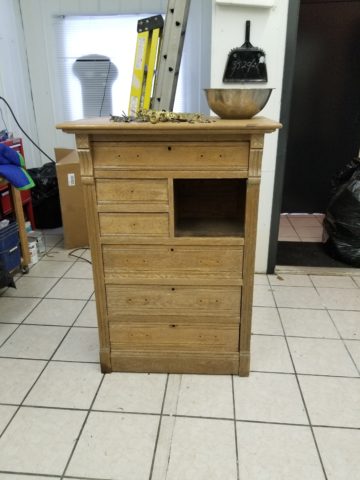
I started by sanding him down with a 150 grit sandpaper and cleaning him up with an ammonia and water mixture. I am a huge fan of prep work regardless of how great the paint is (for the record, I have tried plaster paint without any prep work and it stands up to its claims).
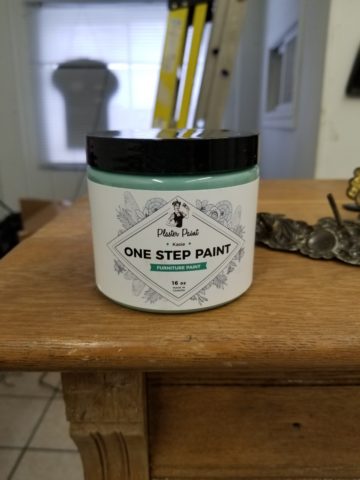
My next step I used One Step Plaster Paint in the colour Kasie (which I’m now obsessed with).
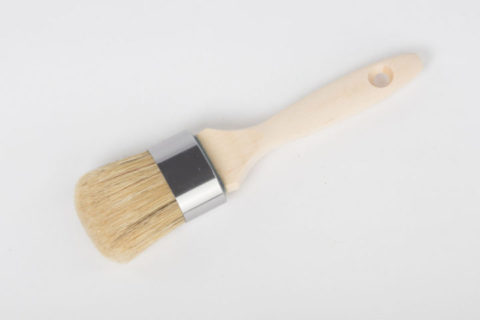
The Paint itself goes on nice and thick for this reason I would suggest purchasing one of the large paint brushes (signature) that Plaster Paint has to offer.
It makes everything go on like butter as compared to the cheapy’s you can get at the hardware store. It really makes a difference in the look of the finish. I went with 2 coats because I wanted a more finished look rather than the farm fresh chippy look.
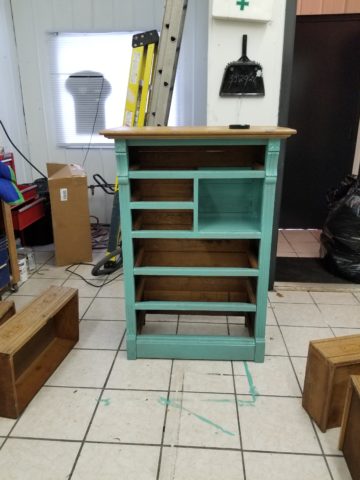
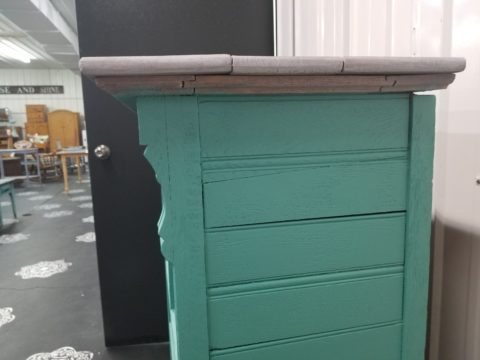
I then used Plaster Paint’s glaze in black.
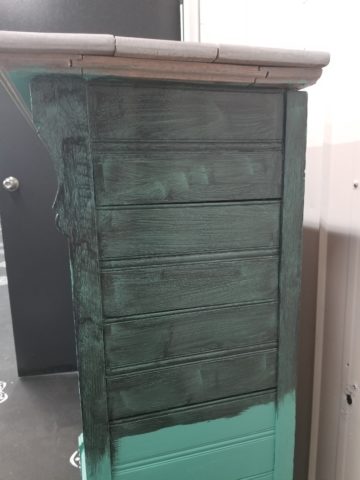
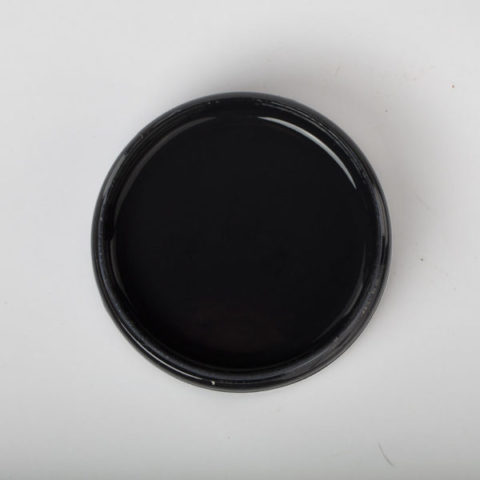
The glaze was applied in sections- I paint on the glaze and wipe off the glaze with a damp rag making sure to blend afterwards with a clean dry brush. Once all the sections were complete, I let dry and moved onto the top of the dresser and the drawer fronts.
This next step is actually called pickling. My grain of wood (quarter sawn oak) is a beautiful grain and I did not want to cover it up. However it wasn’t in the best condition to be properly restored. So I took the best of both worlds and pickled the biotch (sorry for the language, its second nature to me).
I used Plaster Paint’s White wash (One Step) and mixed it with a 50/50 mix of water and paint.
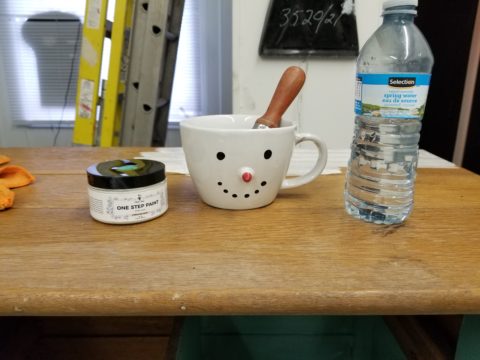
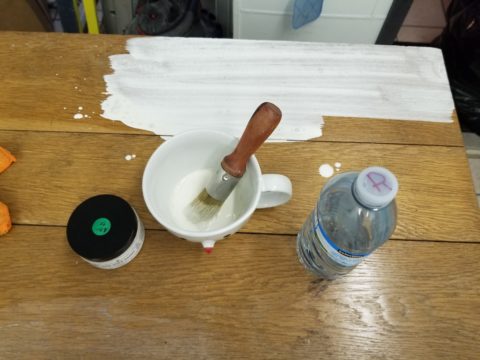
I then painted on the mixture let sit for a minute or two and wiped the mixture off with a clean dry rag. This leaves enough paint to settle in the crevices and allows for the grain to show through. I did the same process on the front of each drawer.
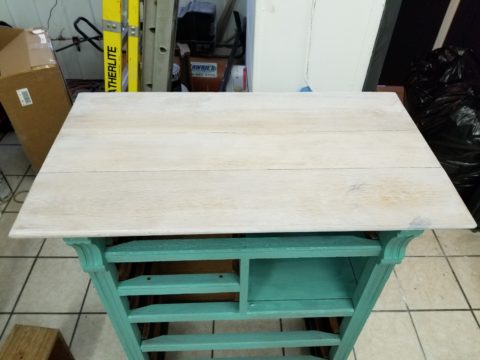
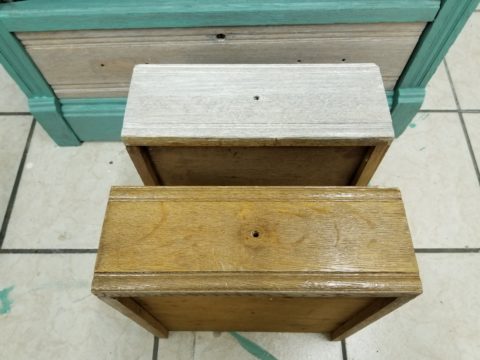
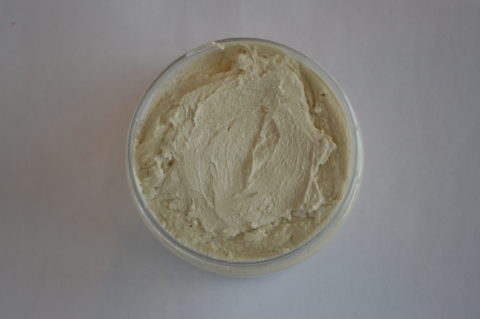
I followed it up with Plaster Paint’s white wax to seal all the pickliness in.
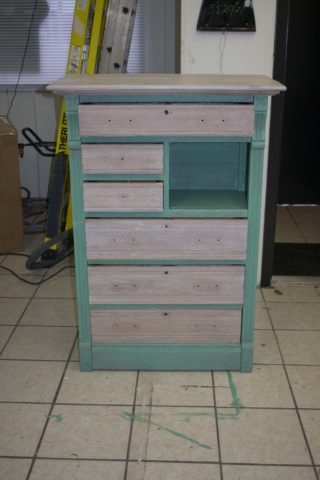
I finished by replacing all the hardware pulls and spray painting the knobs and locks to match.
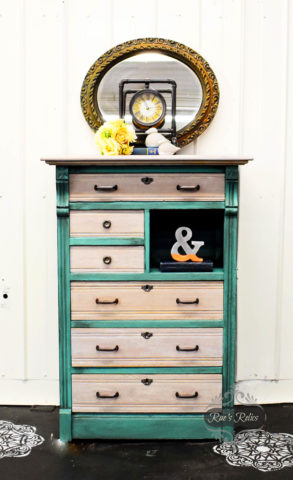
I think he came out rather dapper if I do say so myself. Please if you have any questions don’t be afraid to reach out =) Happy Thrifting!!!
Raechal Benner @ Rae’s Relics
Add comment